7 Steps to Building Your At Home Basketball Court
A dream of most basketball players is to have a court of their own at their home. Give this post a read for 7 steps to for planning your at home basketball court.
When at a home, a sport court can be made up of pretty much anything as long as you have a basket and a ball! But, some setups are definitely better than others. Depending on your yard/house, a “court” could take form in your driveway, back patio, basement, or the most common - driveway. At my house, we just decided to fill in our pool and install a ½ outdoor court, so I am very familiar with this process.
Here are some decisions you have to make:
1. Determine the general space:
The most important decision if you’re interested in having a basketball court at your home is determining the space. Is your court going to be indoor or outdoor? If outdoor, do you have an existing hard surface or do you need to build one? Start exploring an ideal situation.
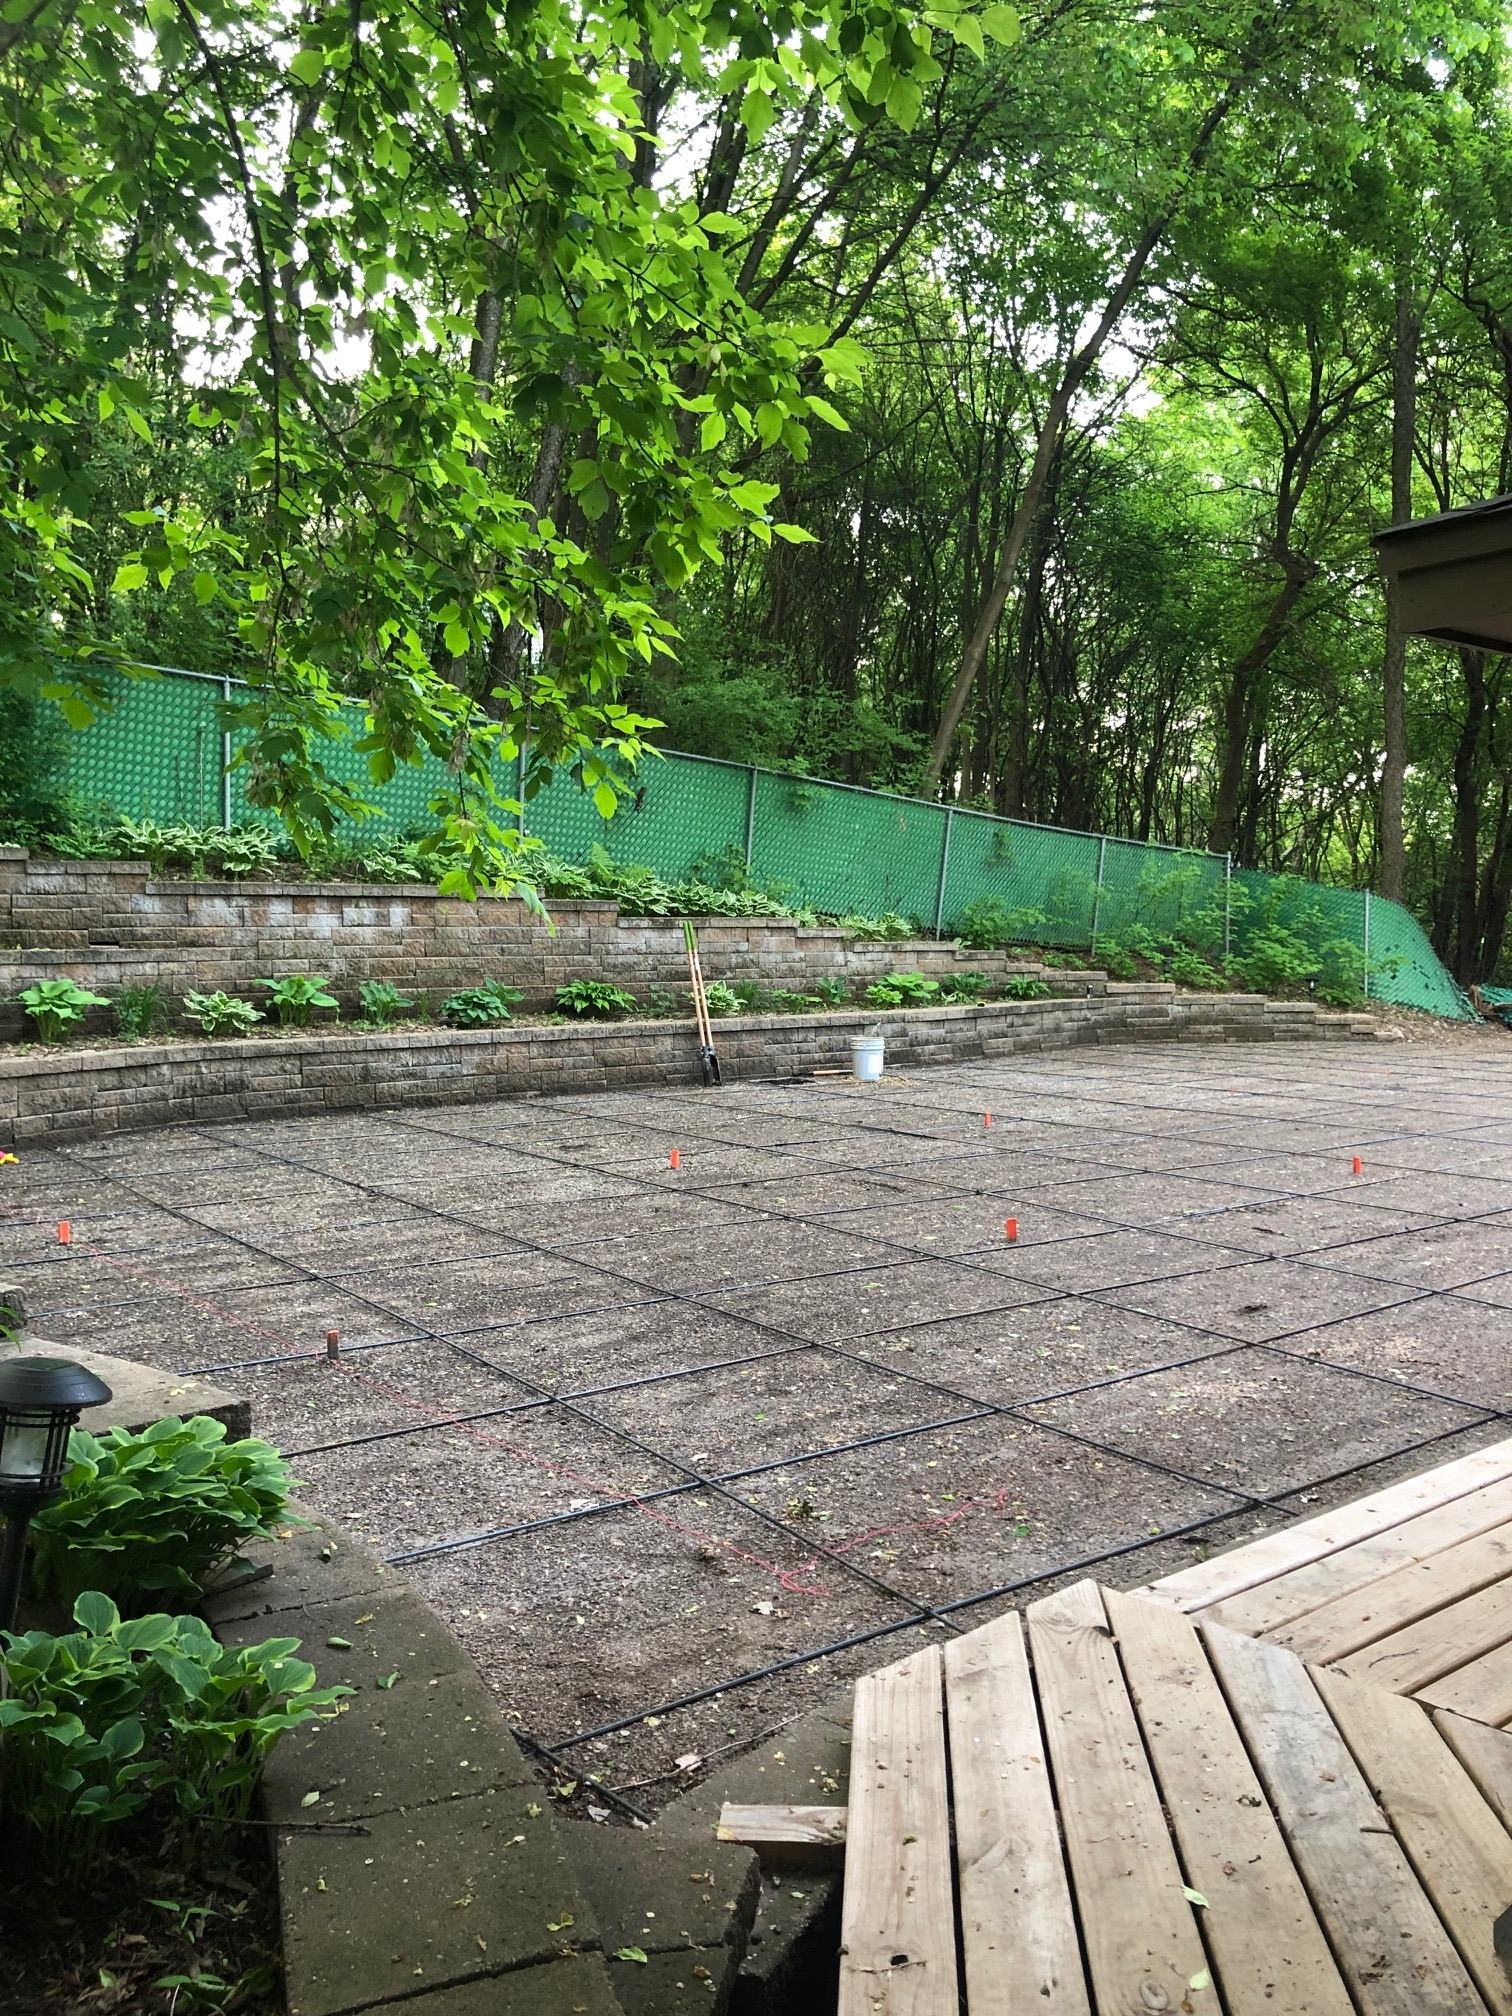
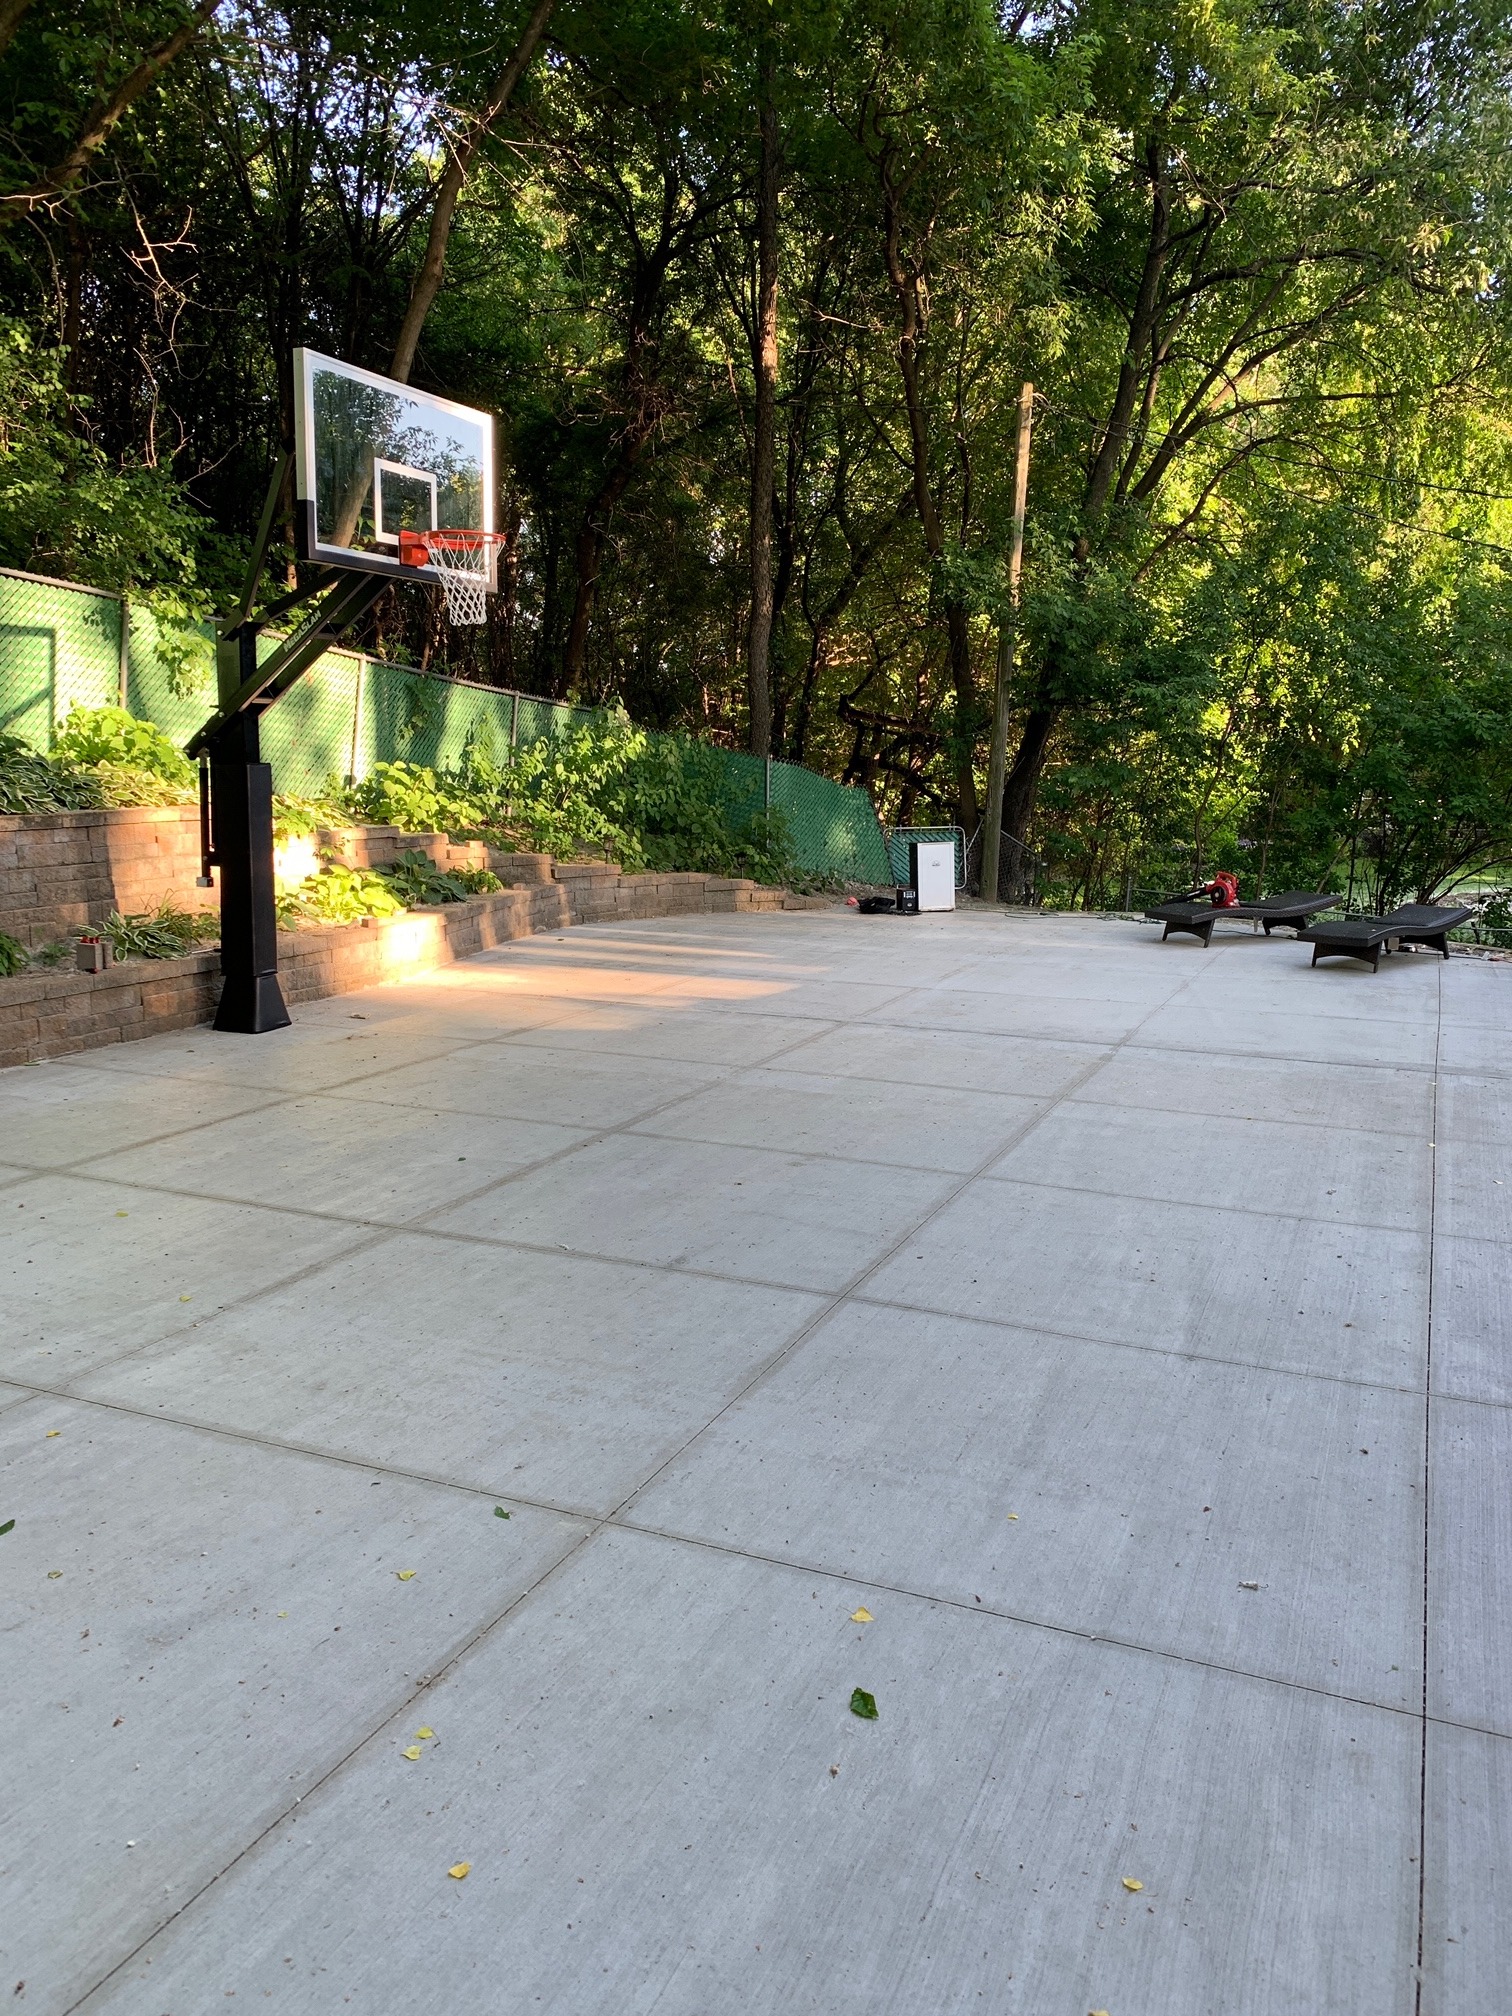
As I mentioned, we recently built out our own basketball court at home by replacing the patio and pool in the back. We knew this meant filling in the pool legally, ripping out the patio bricks and then laying a cement slab.
2. Determine the Size of Court:
Most home courts are some version of a ½ court. College regulation courts are 94 ft x 50 ft while high school courts run 84 ft long. Your home court does NOT have to be even close to this, in fact we see a ton of customers that have a small lane-line sized area and still use a Dr. Dish.
For us, getting a college regulation 3 point line was very important so we measured over and over again to ensure we had enough space. To do this, we put a stake in the ground of where the hoop would be and measured out 4 feet to account for the hoop overhang. We then cut a string 20 feet long and drew a large half circle of the estimate 3 point line area.
We filled in our pool and the space allowed for about a 30” x 60” cement slab. This allowed for a NCAA approved 3 point line.
3. Decide on the Surface Type
Budget is typically the main factor for the type of court surface - but it may be also on what you aesthetically prefer. Weather conditions may also play a part in this decision. We live in a heavily wooded area in Minnesota, so opted against investing in VersaCourt tiles due to the debris, maintenance, and cost.
Here are some options to consider:
1. Gravel
2. Pavement
3. Concrete
4. Patio Pavers / Stone
5. Tile
6. Decking
7. SportCourt Tiles

4. Set Your Budget & Get Bids!
Once you have the basic area planned out, with material type decided on, it’s time to get some official bids! Do your research. In our experience, bids can vary greatly and cheaper isn’t always best - opt for a reputable company with reviews you can trust. If you intend to perform any of the work yourself, account for your time and materials. Get a number that you feel comfortable with and move forward with the project.
While you wait for the project to take place there are a few other things you can do:
5. Purchase The Hoop
If you are making the investment in a dedicated area to play basketball, I would suggest you also invest in an in-ground basketball hoop versus a portable one. The main thing you need to be cognizant of is the backboard size and the overhang, as it will impact your court footprint. Here are some brands to consider. We decided to go with MegaSlamXL for ours and love it!
MegaSlam
Spalding
Goalrilla
Goalsetter
Check out this blog post of the Best Portable Hoops for 2019 for some options if you want to go with a portable, less expensive one.

6. Paint Court Lines
Adding painted lines to your court is optional and something you can always come back and do. Having court lines would be very valuable for practice. If you decide to purchase a stenciling kit, this shouldn’t be too tough. It is possible to do this yourself without a stencil but you will have to be very good at measuring/taping and have a steady hand when it comes time to paint!
Here are the most important things to draw in:
- The 3 point line (you pick: NBA, college, or high school)
- The free-throw line: exactly 15 feet from the backboard
- The free-throw lane, 12 feet by 19 feet (the top of the box is the free-throw line)
7. Purchase Accessories
Once the project is complete, with the hoop installed it’s time to get reps up! Make sure to purchase some basketballs that will withstand the environment if your court is outside. We purchased composite balls like this one by Spalding. If your court is indoors, opt for some more game-like balls.
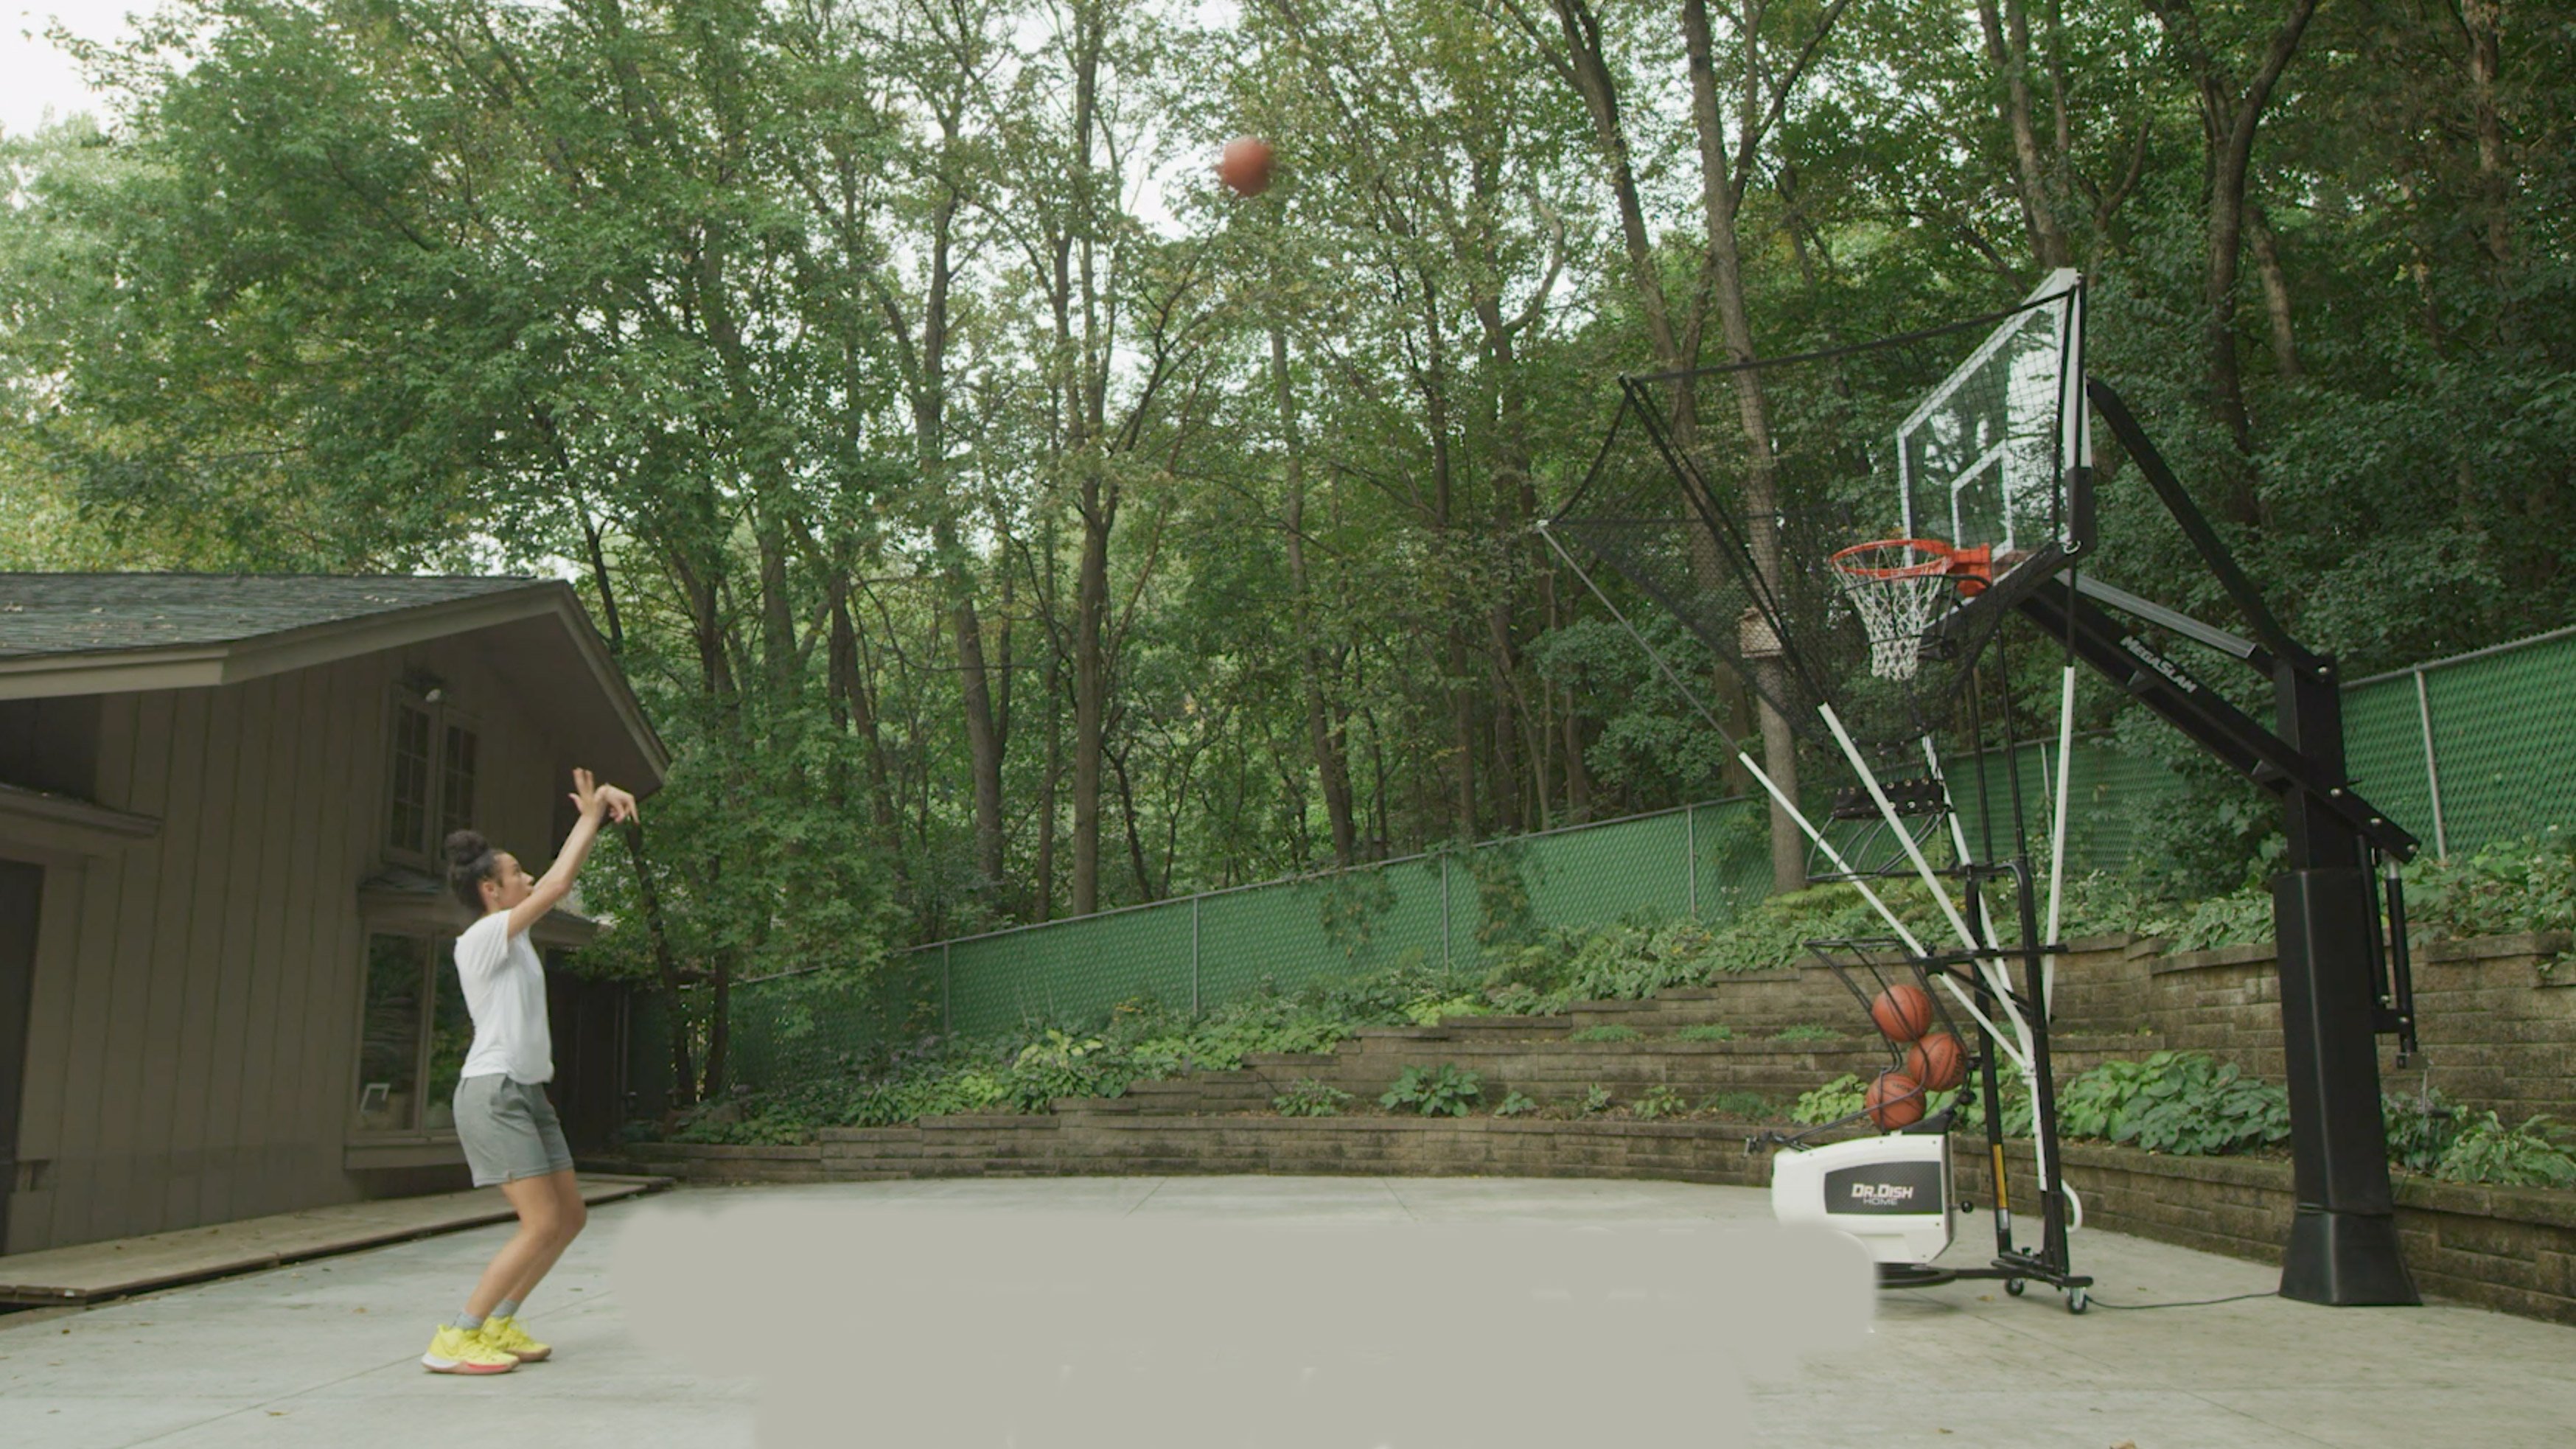
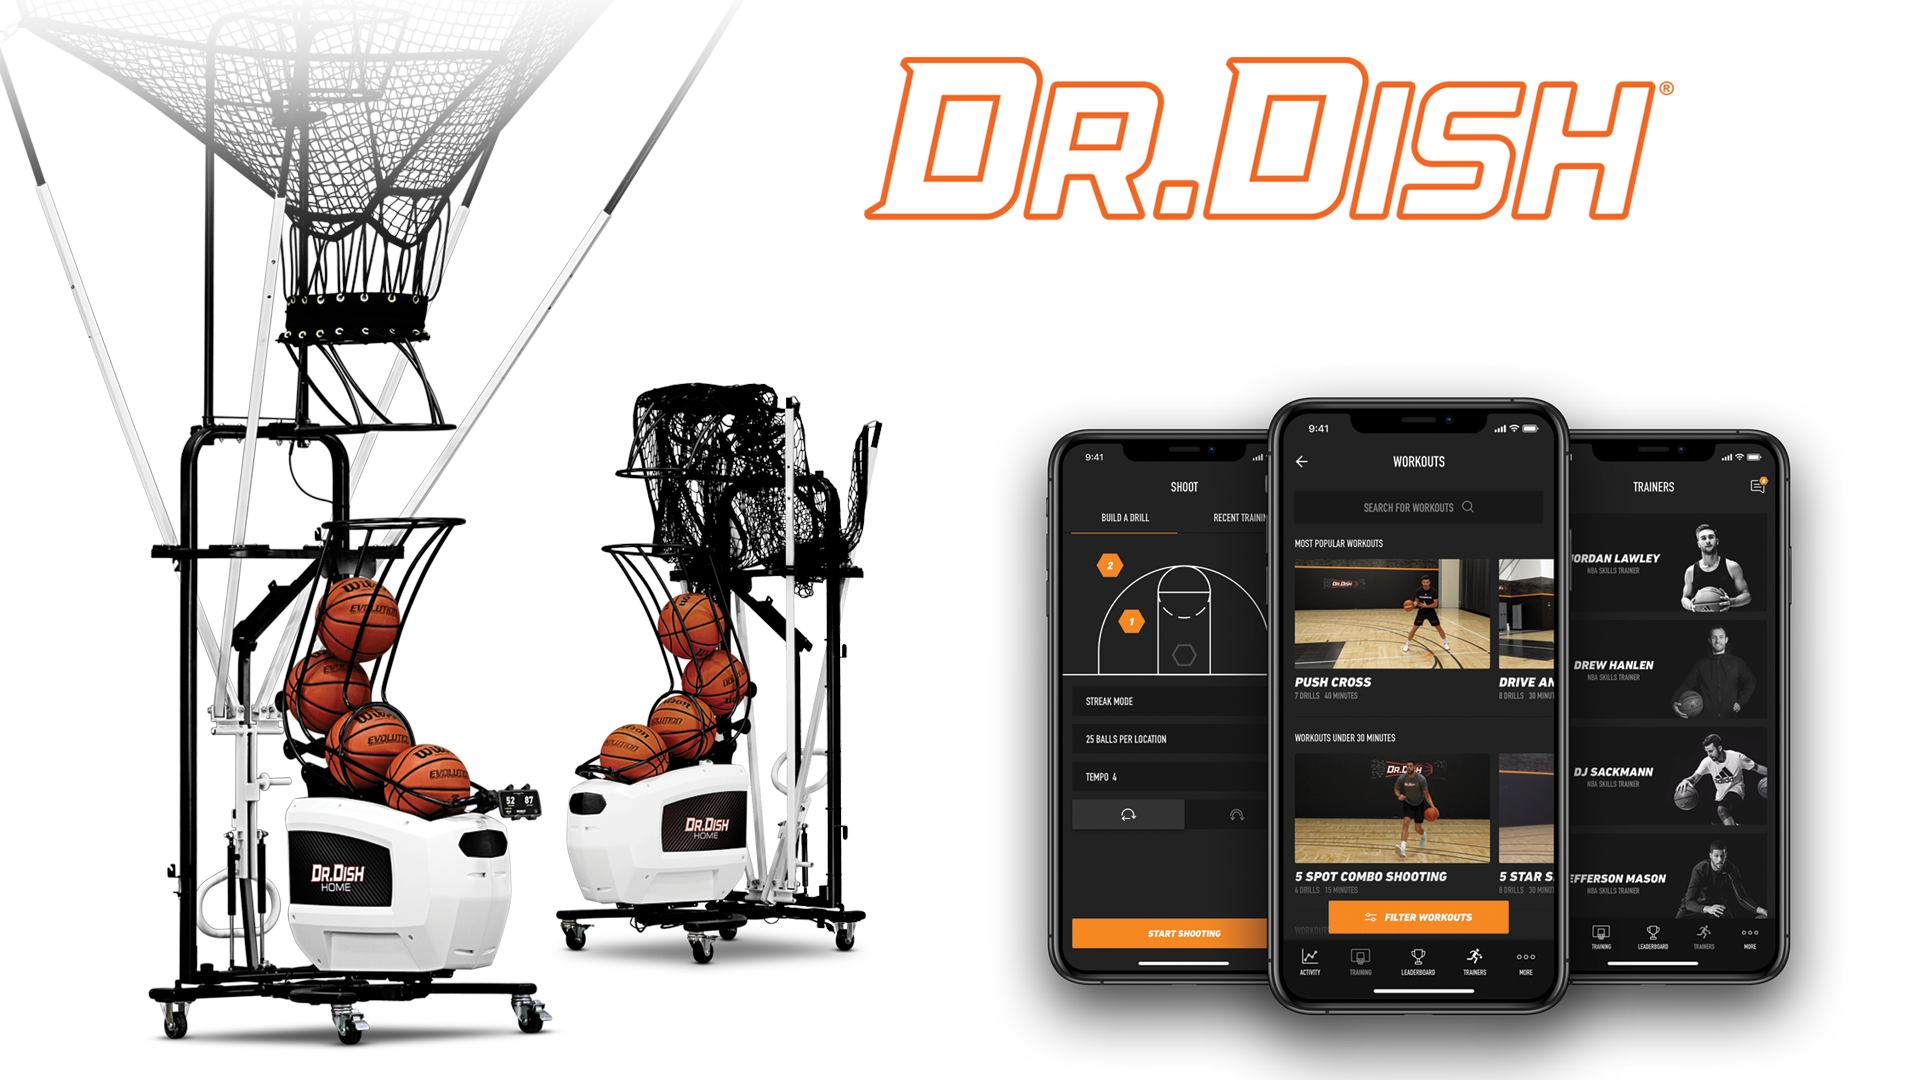
The ultimate accessory would be a Dr. Dish Home for basketball training. This shooting machine designed specifically for home will take your at home court to the next level, with on demand training and over 1,000 reps per hour. The player will never leave your court!

Click here for more info on Dr. Dish basketball shooting machines.
For drills and workouts using Dr. Dish, click here: https://www.drdishbasketball.com/resources
- Basketball Drills (440)
- Basketball Shooting Drills (228)
- Basketball Shooting Machine (222)
- Dr. Dish (194)
- Basketball Coaching (157)
- Coach Tony Miller (113)
- Basketball Tips (102)
- Team Drills (98)
- Dr. Dish CT (97)
- College Basketball (87)
- Basketball Training (77)
- Off-Season (70)
- Dr. Dish Success Stories (65)
- Dr. Dish Home (64)
- High School Basketball (56)
- Skill Builder (56)
- Women's Basketball (43)
- Drill of the Week (40)
- Division 1 (38)
- NBA (38)
- Coach Mason (36)
- Player Development (35)
- Basketball Quotes (33)
- Youth Basketball Drills (30)
- Ball Handling (28)
- Coaching Philosophy (27)
- Success Stories (26)
- Basketball Training Equipment (25)
- WNBA (25)
- Mental Training (24)
- Basketball Event (21)
- NCAA (19)
- Training Management System (19)
- Basketball Clinics (18)
- Basketball Practice Plan (18)
- FCLTY (18)
- At Home Training (17)
- Players App (17)
- Ryan Razooky (17)
- Team Inspiration (17)
- FIBA drills (16)
- Giveaway (16)
- Maximize Your Season (16)
- Positionless Basketball (16)
- Basketball Camp (15)
- CT+ (14)
- Europe (14)
- Fundamentals (14)
- Interview (14)
- Jordan Lawley (14)
- iC3 Shot Trainer (14)
- AAU (12)
- All-Star+ (12)
- Basketball Fundraising (12)
- Basketball Post Drills (12)
- Be Better Everyday (12)
- Girls Basketball (12)
- Joe Abunassar (12)
- Skylar Diggins-Smith (12)
- Special Jennings (11)
- Jake Rauchbach (10)
- March Madness (10)
- Motivation (10)
- Shane Hennen (10)
- Trainers (10)
- Cameron Brink (9)
- Debbie Antonelli (9)
- FIBA (9)
- John Townsend (9)
- Kyle Travis (9)
- Louisville (9)
- Mindfulness (9)
- New 2022 Features (9)
- Pure Sweat (9)
- Bjorn Broman (8)
- FastModel (8)
- Milwaukee (8)
- Press Release (8)
- Zia Cooke (8)
- Byron Scott (7)
- DJ Sackmann (7)
- Lindsay Whalen (7)
- Rebel+ (7)
- Culture (6)
- D1 Drills (6)
- Midwest 3 on 3 (6)
- summer of better (6)
- Boys Basketball (5)
- Dish Lab (5)
- Dr. Dish vs The Gun (5)
- EuroLeague (5)
- Florida Gators (5)
- Mike Dunn (5)
- Mike Lee (5)
- Multiplayer Mode (5)
- Pat the Roc (5)
- Q&A (5)
- Special Olympics (5)
- UNLV (5)
- Allie Quigley (4)
- Amy Hunt Home Business Expert (4)
- Greg Stiemsma (4)
- Luka Doncic (4)
- Mentorship (4)
- Train For Next (4)
- Virtual Camp (4)
- 5-Out Offense Actions (3)
- All In (3)
- Athletic Directors (3)
- Basketball Recruiting (3)
- Catalyst Training (3)
- Greece (3)
- Holidays (3)
- Push Beyond (3)
- Spencer Levy (3)
- Strength Training (3)
- Trade-In Program (3)
- preseason (3)
- Assembly (2)
- Dr. Dish TV (2)
- Duke University (2)
- Eurohoops (2)
- Final 4 (2)
- France (2)
- George "Gee" Gervin Jr. (2)
- HCTC (2)
- Head Coach Training Center (2)
- Mathieu Delarche (2)
- Maurice Riddick (2)
- Midwest Basketball Training (2)
- Moris Hadzija (2)
- NBA All-Star Weekend (2)
- NWBA (2)
- Professional Development (2)
- Small Sided Game (2)
- Tyty Washington (2)
- jrue holiday (2)
- post season (2)
- Accessories (1)
- Analytics (1)
- Australia (1)
- Basketball Training Machine (1)
- Brett Brown (1)
- Carlos Frade (1)
- Championship Guide (1)
- Chris Johnson (1)
- Courts of the World (1)
- Curro Segura (1)
- Customer Success (1)
- Dimitri Lauwers (1)
- Father's Day (1)
- Hoops Factory (1)
- Jaume Comas (1)
- Jesus Lazard (1)
- Joerik Michiels (1)
- Knockdown (1)
- Leadership (1)
- National Night Out (1)
- National Teams (1)
- Offline Mode (1)
- Rising Coaches (1)
- Shot Trainer (1)
- Sports Boosters (1)
- Statistics (1)
- Switzerland (1)
- Tony Delk (1)
- Tutorial (1)
- Wheelchair Basketball (1)
- affordable (1)
- endorsement (1)
- green light (1)
- spain (1)
- February 2026 (1)
- January 2026 (3)
- December 2025 (3)
- November 2025 (8)
- October 2025 (7)
- September 2025 (9)
- August 2025 (19)
- July 2025 (20)
- June 2025 (24)
- May 2025 (11)
- April 2025 (6)
- March 2025 (12)
- February 2025 (6)
- January 2025 (6)
- December 2024 (14)
- November 2024 (13)
- October 2024 (16)
- September 2024 (12)
- August 2024 (13)
- July 2024 (9)
- June 2024 (7)
- May 2024 (10)
- April 2024 (12)
- March 2024 (15)
- February 2024 (10)
- January 2024 (10)
- December 2023 (7)
- November 2023 (9)
- October 2023 (14)
- September 2023 (18)
- August 2023 (10)
- July 2023 (9)
- June 2023 (20)
- May 2023 (10)
- April 2023 (8)
- March 2023 (14)
- February 2023 (8)
- January 2023 (12)
- December 2022 (13)
- November 2022 (9)
- October 2022 (11)
- September 2022 (12)
- August 2022 (14)
- July 2022 (18)
- June 2022 (18)
- May 2022 (16)
- April 2022 (16)
- March 2022 (19)
- February 2022 (14)
- January 2022 (10)
- December 2021 (20)
- November 2021 (14)
- October 2021 (19)
- September 2021 (16)
- August 2021 (14)
- July 2021 (16)
- June 2021 (17)
- May 2021 (18)
- April 2021 (15)
- March 2021 (19)
- February 2021 (15)
- January 2021 (20)
- December 2020 (12)
- November 2020 (15)
- October 2020 (15)
- September 2020 (15)
- August 2020 (13)
- July 2020 (14)
- June 2020 (17)
- May 2020 (14)
- April 2020 (13)
- March 2020 (9)
- February 2020 (11)
- January 2020 (11)
- December 2019 (11)
- November 2019 (7)
- October 2019 (11)
- September 2019 (16)
- August 2019 (13)
- July 2019 (9)
- June 2019 (10)
- May 2019 (11)
- April 2019 (7)
- March 2019 (9)
- February 2019 (7)
- January 2019 (6)
- December 2018 (13)
- November 2018 (11)
- October 2018 (12)
- September 2018 (13)
- August 2018 (15)
- July 2018 (10)
- June 2018 (6)
- May 2018 (7)
- April 2018 (7)
- March 2018 (8)
- February 2018 (6)
- January 2018 (7)
- December 2017 (8)
- November 2017 (9)
- October 2017 (9)
- September 2017 (5)
- August 2017 (9)
- July 2017 (10)
- June 2017 (11)
- May 2017 (6)
- April 2017 (6)
- March 2017 (12)
- February 2017 (10)
- January 2017 (15)
- December 2016 (12)
- November 2016 (13)
- October 2016 (12)
- September 2016 (10)
- August 2016 (10)
- July 2016 (8)
- June 2016 (5)
- May 2016 (4)
- April 2016 (8)
- March 2016 (9)
- February 2016 (7)
- January 2016 (6)
- December 2015 (8)
- November 2015 (3)
- October 2015 (1)
- September 2015 (1)
- August 2015 (2)
- June 2015 (1)
- May 2015 (4)
- April 2015 (1)

